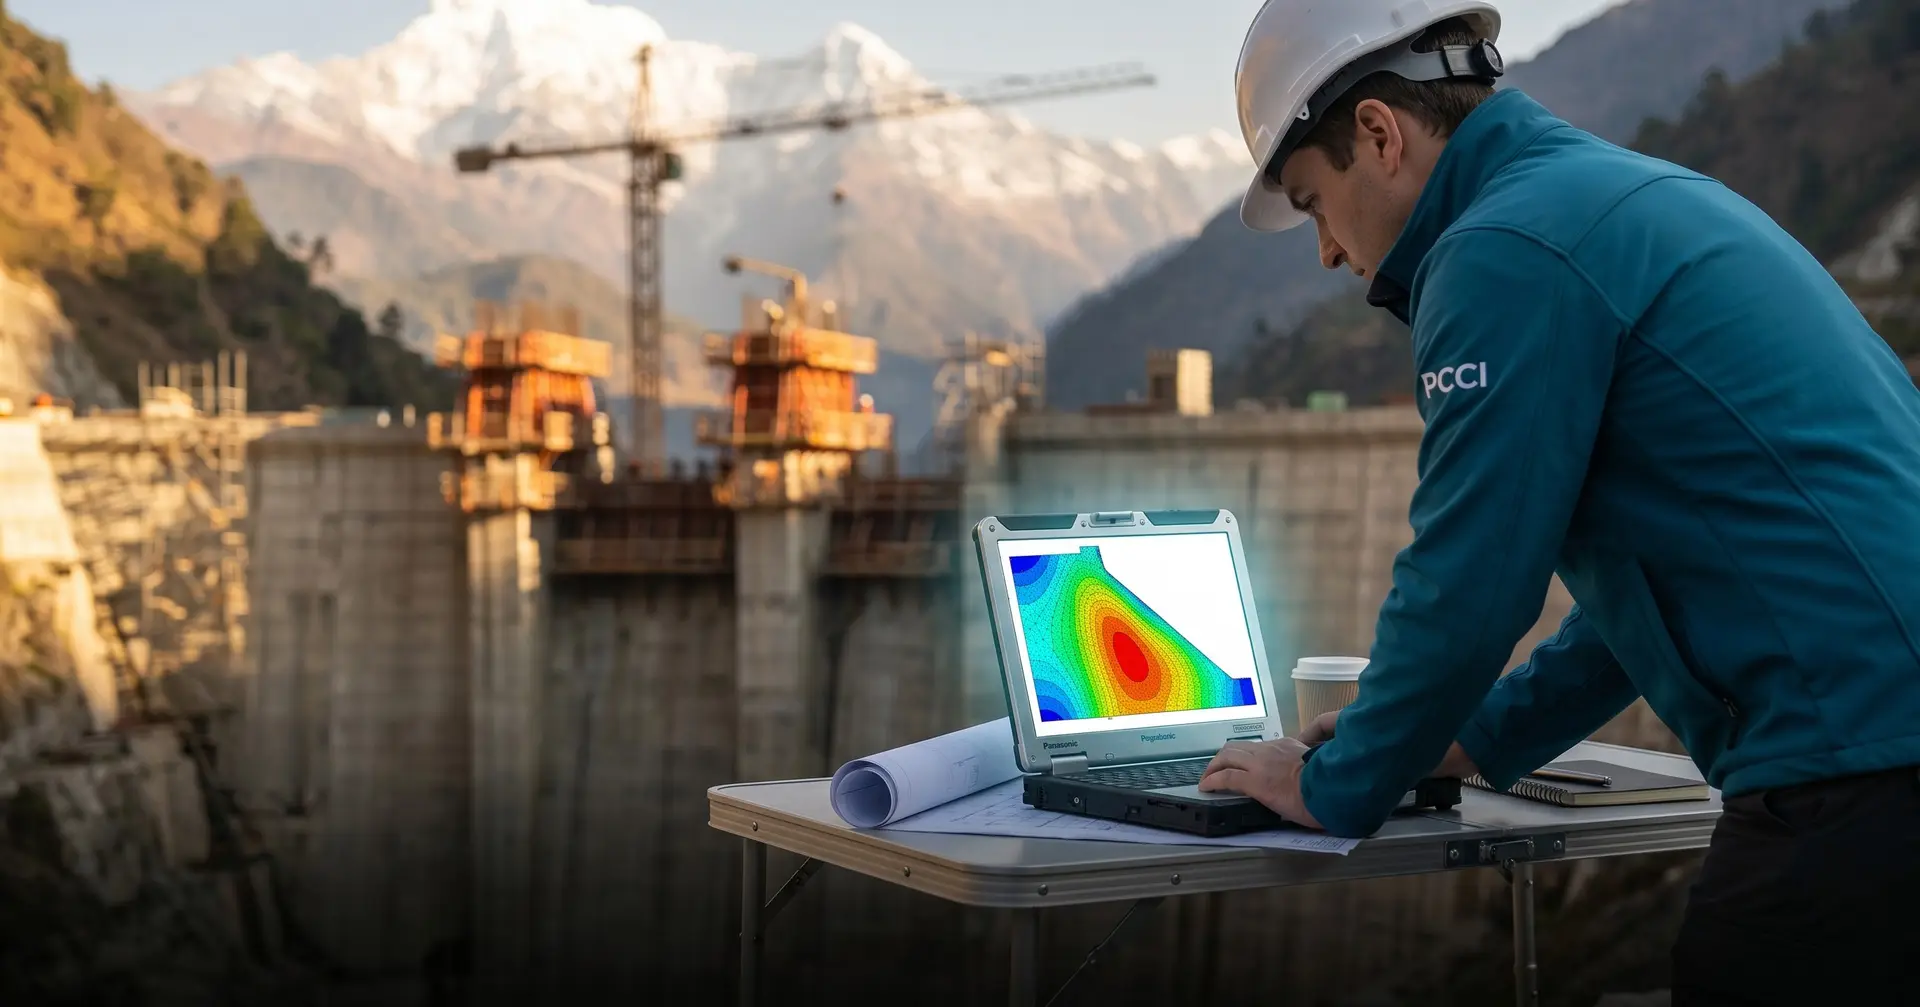
Before a single cubic metre of dam concrete is placed, the thermal engineer builds the dam in a computer.
The digital dam is a finite element mesh: thousands of elements representing the concrete, the foundation, the formwork, and the air. Each element has thermal properties: conductivity, specific heat, density. The concrete elements generate heat according to the adiabatic temperature rise curve measured in the laboratory. The boundary elements exchange heat with the environment: air temperature, solar radiation, wind, water.
The model steps forward in time. Each step, it calculates the temperature at every node in the mesh. It shows the heat wave from cement hydration moving outward from the centre of each lift. It shows the surface cooling overnight and warming during the day. It shows the thermal gradient building between the hot core and the cooler surface.
From this temperature field, a coupled stress analysis calculates the tensile stress at every point. Where the stress approaches or exceeds the concrete’s tensile capacity, the model flags a cracking risk.
This process, repeated for every construction stage from the first lift to the final crest pour, produces the thermal control plan: the placing temperature, the lift thickness, the placement interval, the cooling pipe layout, and the curing requirements that keep every thermal stress below the cracking threshold.
The entire thermal control programme for a multi-year dam construction depends on the accuracy of this model.
The Modelling Framework
Heat Transfer Equation
The temperature distribution in mass concrete is governed by the heat conduction equation with an internal heat source:
ρc (∂T/∂t) = k(∂²T/∂x² + ∂²T/∂y² + ∂²T/∂z²) + Q(t)
Where:
- ρ = concrete density (kg/m3)
- c = specific heat (J/kg per degree C)
- T = temperature (degrees C)
- t = time (seconds)
- k = thermal conductivity (W/m per degree C)
- Q(t) = rate of heat generation from cement hydration (W/m3), a function of time
The finite element method discretises this equation over the dam geometry, solving for temperature at thousands of nodes at each time step.
Boundary Conditions
The surfaces of the dam exchange heat with the environment through:
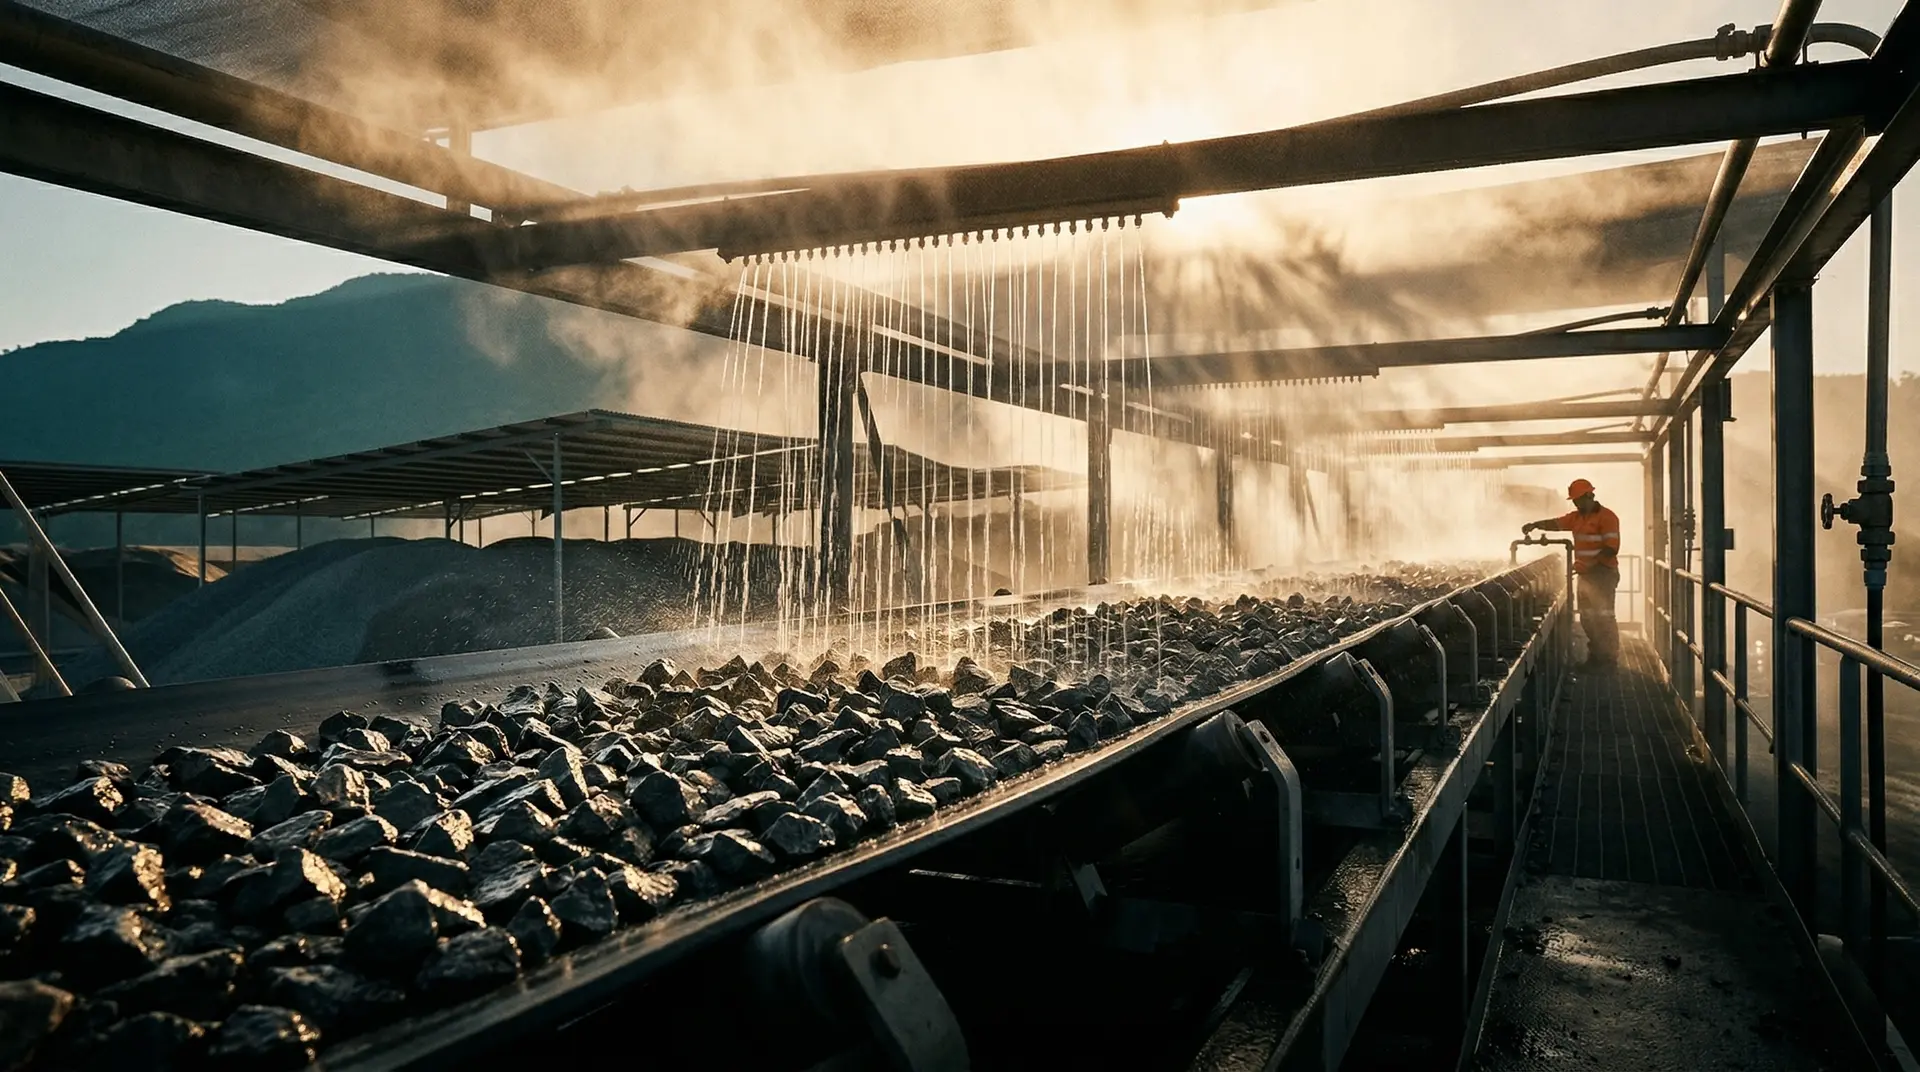
Convection: Heat transfer between the concrete surface and the surrounding air or water. The rate depends on the surface heat transfer coefficient, which varies with wind speed, surface orientation, and whether the surface is formed (insulated by formwork) or exposed.
Radiation: Heat exchange between the concrete surface and the sky. Significant for exposed surfaces during clear nights (radiative cooling can drop surface temperature 5-10 degrees C below air temperature).
Solar radiation: The sun heats exposed surfaces, adding 5-15 degrees C to the surface temperature during direct exposure. The effect depends on surface orientation, time of day, season, and cloud cover.
Formwork insulation: Steel formwork has low insulation value (the concrete surface temperature closely follows air temperature). Timber formwork provides moderate insulation. Insulated formwork significantly retards heat loss, keeping the surface warmer and reducing the thermal gradient.
Each boundary condition must be defined for every surface of the model, varying with time (day/night, seasonal, construction sequence as formwork is placed and removed).
Input Parameters
The thermal model is only as good as its inputs. Five parameters dominate the accuracy:
1. Adiabatic Temperature Rise (ATR)
What it is: The total temperature rise of the concrete if no heat is lost. Measured by adiabatic calorimetry on the actual project concrete.
Why it matters: ATR is the heat source that drives the entire thermal analysis. An error of 5 degrees C in the ATR translates directly to a 5 degrees C error in the predicted peak temperature.
Typical values:
| Cementitious System | Ultimate ATR (degrees C) |
|---|---|
| OPC, 200 kg/m3 | 28-35 |
| OPC, 300 kg/m3 | 38-45 |
| 70% OPC + 30% fly ash, 200 kg/m3 | 20-26 |
| 60% OPC + 40% fly ash, 200 kg/m3 | 17-23 |
| 50% OPC + 50% GGBS, 200 kg/m3 | 22-28 |
| RCC, 120 kg/m3, 50% fly ash | 12-18 |
Critical detail: The ATR is not a single number but a curve (temperature rise versus time). The shape of the curve matters: a cementitious system with rapid early heat generation creates a sharper peak than one with gradual heat generation, even if the ultimate ATR is the same.
2. Thermal Conductivity (k)
What it is: The rate at which heat flows through the concrete. Units: W/m per degree C.
Why it matters: Conductivity determines how fast heat moves from the interior to the surface. Higher conductivity means faster heat dissipation, lower peak temperatures, and lower thermal gradients. Lower conductivity means the heat is trapped, peaks are higher, and gradients are steeper.
Typical range: 1.5-2.5 W/m per degree C for mass concrete.
What affects it: Aggregate type (granite: 2.0-2.5, limestone: 1.5-2.0, basalt: 1.3-1.8), moisture content (wet concrete conducts better than dry), temperature (conductivity decreases slightly with increasing temperature).
Measurement: Per ASTM C177 or ASTM C518 on specimens from the project mix.
3. Specific Heat (c)
What it is: The amount of energy required to raise the temperature of one kilogram of concrete by one degree. Units: kJ/kg per degree C.
Why it matters: Higher specific heat means the concrete absorbs more energy per degree of temperature rise, resulting in lower peak temperatures for the same heat generation. The effect is moderate compared to conductivity and ATR.
Typical range: 0.84-1.05 kJ/kg per degree C.
What affects it: Moisture content (water has a specific heat of 4.18, much higher than dry concrete; wet concrete has higher specific heat), aggregate type, temperature.
4. Coefficient of Thermal Expansion (CTE)
What it is: The change in length per unit length per degree of temperature change. Units: x 10-6 per degree C (microstrain per degree C).
Why it matters: CTE converts the temperature field into a strain field. The thermal stress is proportional to the product of CTE, elastic modulus, temperature change, and restraint. A higher CTE means more strain per degree, more stress, and more cracking risk.
Typical range: 7-12 x 10-6 per degree C.
What affects it: Primarily the aggregate type (quartz aggregates: 10-12, limestone: 6-8, granite: 7-9, basalt: 7-8). Since aggregate constitutes 60-75% of the concrete, the aggregate’s CTE dominates the concrete’s CTE.
Critical for design: The CTE is one of the most project-specific parameters. Using a generic value can significantly over- or under-predict thermal stresses. Measurement on the actual project concrete is essential.
5. Boundary Conditions (Ambient Environment)
Temperature: Hourly or daily ambient temperature records for the dam site, covering the full annual cycle. Minimum 1 year of site data is needed; 3-5 years is preferred.
Solar radiation: Daily solar energy received at the dam face, varying with orientation, season, and cloud cover. Can be calculated from latitude, altitude, and typical cloud cover data.
Wind: Average wind speed at the dam site, which controls the surface heat transfer coefficient. Higher wind increases convective cooling.
Water temperature: For the upstream face after impoundment, the reservoir water temperature (which varies with depth and season) provides a constant-temperature boundary that dramatically changes the thermal behaviour of the upstream section.
The Modelling Process
Step 1: Geometry and Mesh
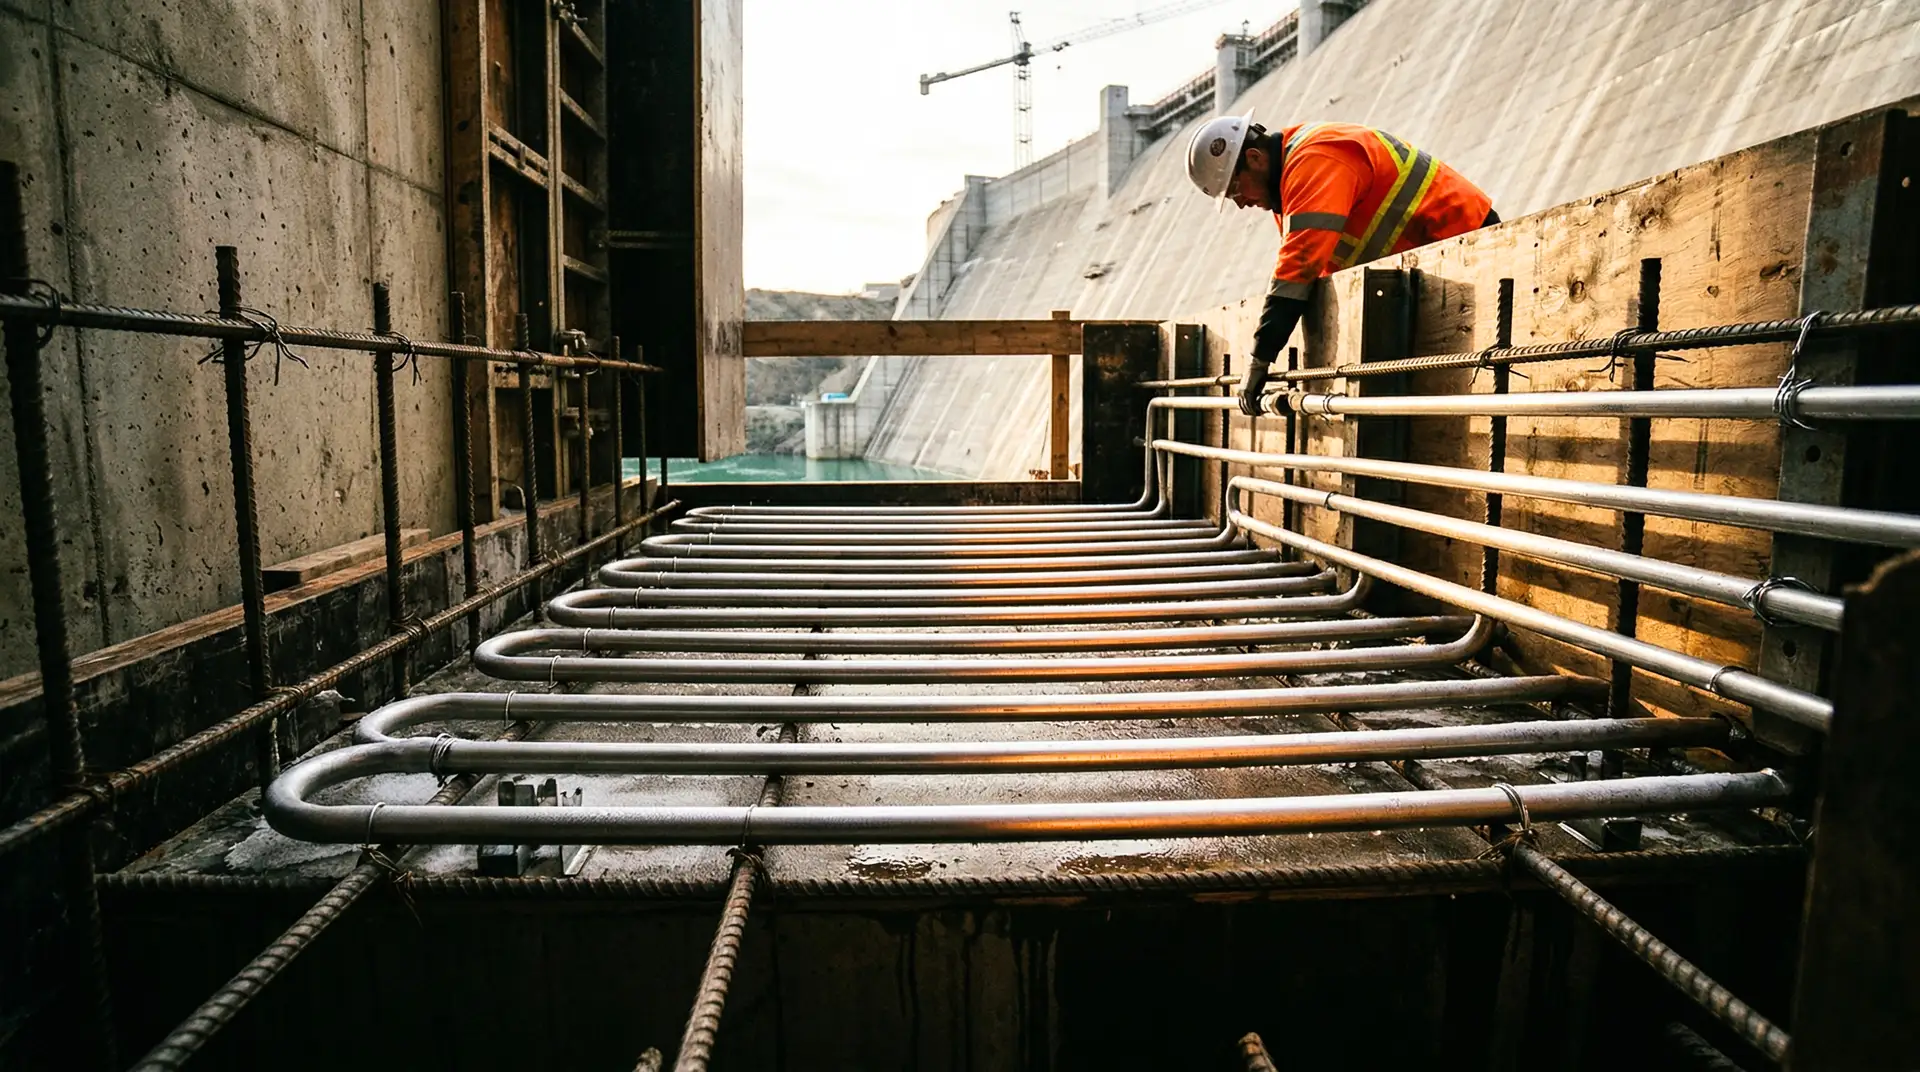
Create the FEM mesh representing the dam cross-section (typically a 2D analysis for gravity dams, where conditions are approximately uniform along the dam axis). Mesh density must be sufficient to capture the thermal gradient: elements no larger than 0.3-0.5 metres, with finer mesh near surfaces and cooling pipes.
Step 2: Construction Sequence
Define the construction sequence: when each lift is placed, when formwork is applied and removed, when cooling pipes are activated and deactivated. The model must simulate the actual construction process, not just the final dam geometry.
Step 3: Material Properties
Assign thermal properties (ATR curve, conductivity, specific heat, CTE) to each concrete type. If multiple mixes are used (mass concrete, HPC, shotcrete), each has its own property set.
Step 4: Boundary Conditions
Apply boundary conditions to every surface at every time step: ambient temperature (hourly data), solar radiation (daily data), convection coefficients (wind-dependent), formwork insulation (time-varying as formwork is placed and stripped), and cooling pipe effects (water temperature and flow rate).
Step 5: Analysis
Run the transient thermal analysis using FEM software (ANSYS, ABAQUS, DIANA, or purpose-built tools such as USBR’s mass concrete thermal codes). The solver calculates the temperature at every node at every time step (typically 1-6 hour intervals) over the entire construction period (months to years).
Step 6: Stress Analysis
Using the temperature results as input, run a stress analysis that calculates the thermal stress at every point. The analysis must account for:
- Restraint from the foundation (the rock resists the concrete’s thermal contraction)
- Restraint from adjacent monoliths (contraction joints provide partial relief)
- Creep (concrete under sustained stress deforms, partially relaxing the thermal stress)
- Strength gain (the concrete’s tensile capacity increases with age)
Step 7: Cracking Risk Assessment
Compare the thermal tensile stress at each point with the estimated tensile strength at that age. The ratio (stress/strength) is the cracking risk index. Values above 0.7-0.8, the threshold widely used in ACI 207-aligned practice, indicate high cracking risk requiring design intervention.
Step 8: Design Optimisation
If the cracking risk exceeds acceptable limits, modify the design:
- Reduce the placing temperature (more pre-cooling)
- Reduce the lift thickness (faster heat dissipation)
- Increase the placement interval (more cooling time between lifts)
- Add or reconfigure post-cooling pipes
- Change the concrete mix design (lower ATR through higher SCM replacement)
- Add surface insulation (reduce the surface cooling rate)
Re-run the analysis until all cracking risks are within acceptable limits.
Validation: Model vs. Reality
First-Lift Calibration
The thermal model must be validated against actual temperature measurements from the first concrete placements. Embedded thermocouples and fibre optic sensors at the locations predicted by the model to have the highest temperatures and largest gradients provide the reality check.
Expected accuracy: Peak temperature within plus or minus 2-5 degrees C. Temperature differential within plus or minus 3-5 degrees C.
If the model deviates from measurements:
- Check the ATR curve: was the adiabatic calorimetry test representative of the field concrete?
- Check the boundary conditions: were the actual ambient conditions during the pour close to the model assumptions?
- Check the placement: was the actual placing temperature close to the model input?
- Recalibrate the model with adjusted parameters
Ongoing Validation
The thermal model should be compared with field measurements throughout construction, not just for the first lift. Seasonal changes in ambient conditions, variations in concrete mix between different delivery periods, and construction schedule deviations all affect the actual temperatures relative to the model prediction.
Common Modelling Errors
Using Generic Properties
The most common error: using textbook values for thermal properties instead of laboratory-measured values from the actual project concrete. The thermal conductivity of granite-aggregate concrete can be 40% higher than basalt-aggregate concrete. This difference alone can change the predicted peak temperature by 5-8 degrees C and the cracking risk assessment from safe to critical.
Ignoring Solar Radiation
Solar radiation on exposed dam faces can add 5-15 degrees C to the surface temperature during direct exposure. Ignoring this in the boundary conditions under-predicts the surface temperature during the day and over-predicts the thermal gradient (which is actually reversed during peak solar exposure: the surface is hotter than the interior near the surface).
Constant Ambient Temperature
Using daily average temperature instead of hourly variation misses the night-time cooling effect, which is significant for surface thermal stress. The model should use hourly ambient temperature data, at minimum.
Ignoring Creep
Concrete under sustained stress creeps (deforms slowly over time). Creep relaxes a significant portion of the thermal stress: typically 30-50% of the elastic thermal stress is relieved by creep within the first few weeks. A model that ignores creep over-predicts the cracking risk, potentially leading to over-conservative (and over-expensive) thermal control measures.
Insufficient Mesh Refinement
A coarse mesh cannot capture the steep thermal gradient near the surface or near cooling pipes. The thermal stress at the surface, which is the location of highest cracking risk, can be significantly under-predicted if the mesh is too coarse.
The Model as a Construction Management Tool
The thermal model is not just a design-phase document. It is a construction management tool that should be used throughout placement:
- Before each construction season: Update the model with the actual placement sequence and verify that the planned placement schedule remains thermally safe
- Before critical placements: Run a specific analysis for non-standard lifts (extra-thick lifts, lifts in restrained locations, lifts during extreme weather)
- During placement: Compare real-time thermocouple data with model predictions. If the actual temperature is trending above the prediction, investigate and adjust cooling operations before the peak is reached
- After construction: Archive the model with the actual input data and validation results. The calibrated model becomes a reference for future assessments of the dam’s thermal history and its implications for long-term behaviour
Key Principles
-
Measure, do not assume. Every critical thermal property must be measured on the actual project concrete. Generic values from textbooks are starting points for preliminary analysis, not inputs for the final thermal control plan.
-
Model the construction, not just the dam. The transient nature of dam construction (sequential lift placement, formwork cycles, seasonal variation) creates thermal conditions that a steady-state analysis cannot capture. The model must simulate the actual construction sequence.
-
Validate early and often. Compare model predictions with thermocouple measurements from the first placements. Recalibrate if necessary. Continue validation throughout construction.
-
Include creep. Ignoring creep over-predicts thermal stress by 30-50%. A model without creep produces an unrealistically pessimistic cracking risk assessment.
-
The model is a tool, not a prediction. A thermal model predicts what will happen if the assumptions are correct. The assumptions are never perfectly correct. The model provides the best available estimate and the basis for a rational thermal control plan. Field monitoring provides the reality check that the model cannot.
The thermal model is the foundation upon which the entire thermal control programme is built. Its accuracy determines whether the pre-cooling investment is right-sized, whether the placement schedule is safe, and whether the cooling system is correctly designed. Getting the model right is the first and most consequential step in preventing thermal cracking.